Blog Layout
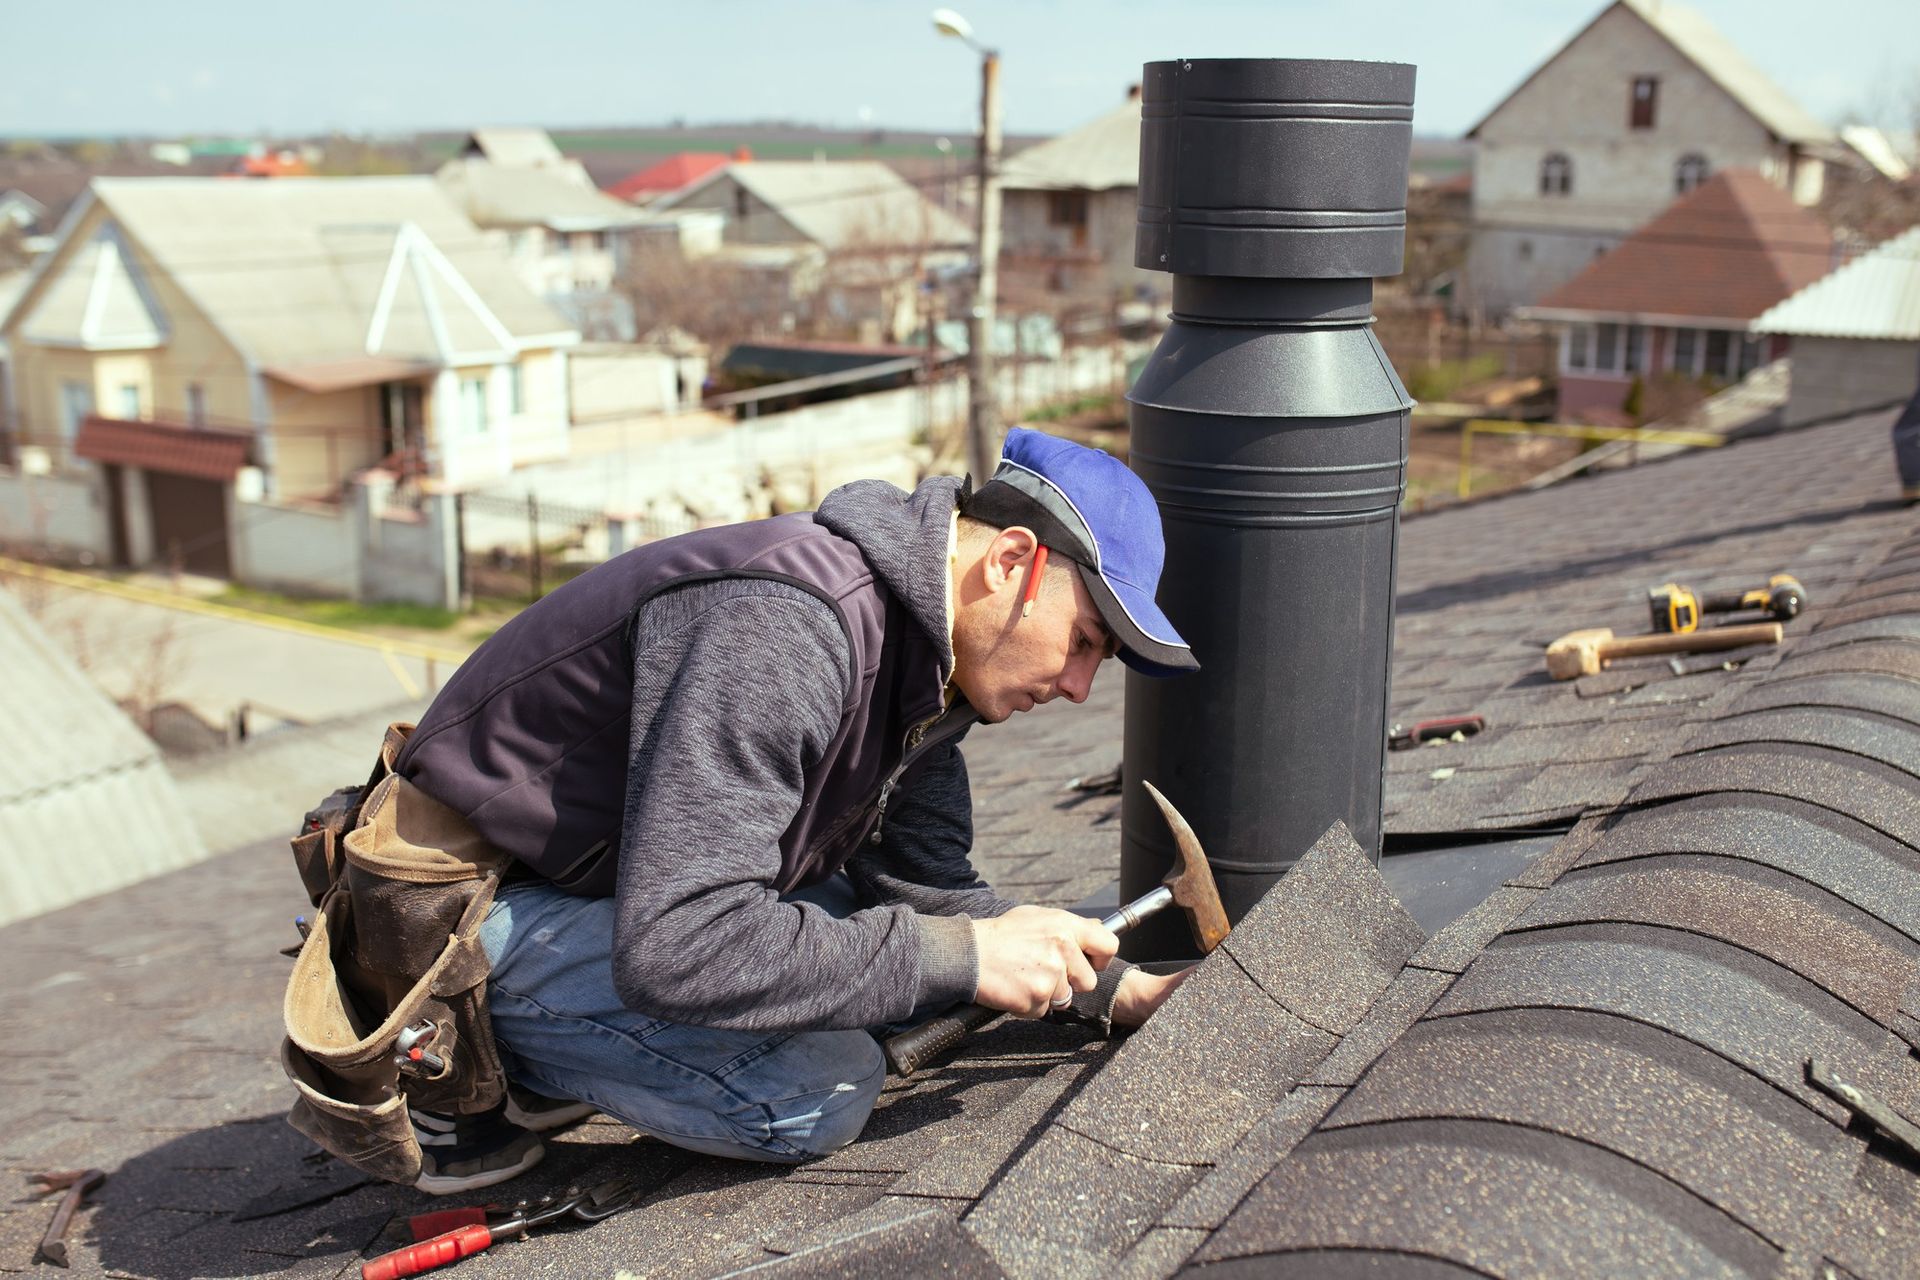
Rubber Roofing 101: Understanding Installation Essentials
Feb 07, 2024
Welcome to the world of rubber roofing, where durability meets innovation! In this comprehensive guide, we'll delve into the basics of rubber roofing, exploring the fundamental installation essentials that every homeowner and DIY enthusiast should grasp. From surface preparation to post-installation maintenance, we've got you covered.
Rubber roofing has emerged as a resilient and eco-friendly alternative to traditional materials, offering a host of advantages that make it a popular choice for modern construction. In this article, we'll navigate through the essential aspects of rubber roofing installation. Whether you're considering a DIY project or hiring professionals, understanding these basics is crucial for a successful and long-lasting roof.
The Basics of Rubber Roofing
Before we dive into the installation process, let's establish a foundation on what rubber roofing entails. Essentially, rubber roofing involves the use of specialized materials, such as EPDM or TPO, known for their durability and weather resistance. Unlike traditional materials like asphalt or wood, rubber roofing offers flexibility and longevity, making it an ideal choice for various applications.
Pre-Installation Preparation
Preparation is the cornerstone of a successful rubber roofing installation. Before embarking on the installation process, thorough pre-installation preparation is essential to ensure a smooth and efficient project.
- Assessing the Roof Condition: Begin by thoroughly inspecting the existing roof structure. Look for signs of damage, such as cracks, leaks, or deteriorating materials. Addressing any underlying issues before installing the rubber roofing will prevent future complications and ensure a solid foundation for the new roof.
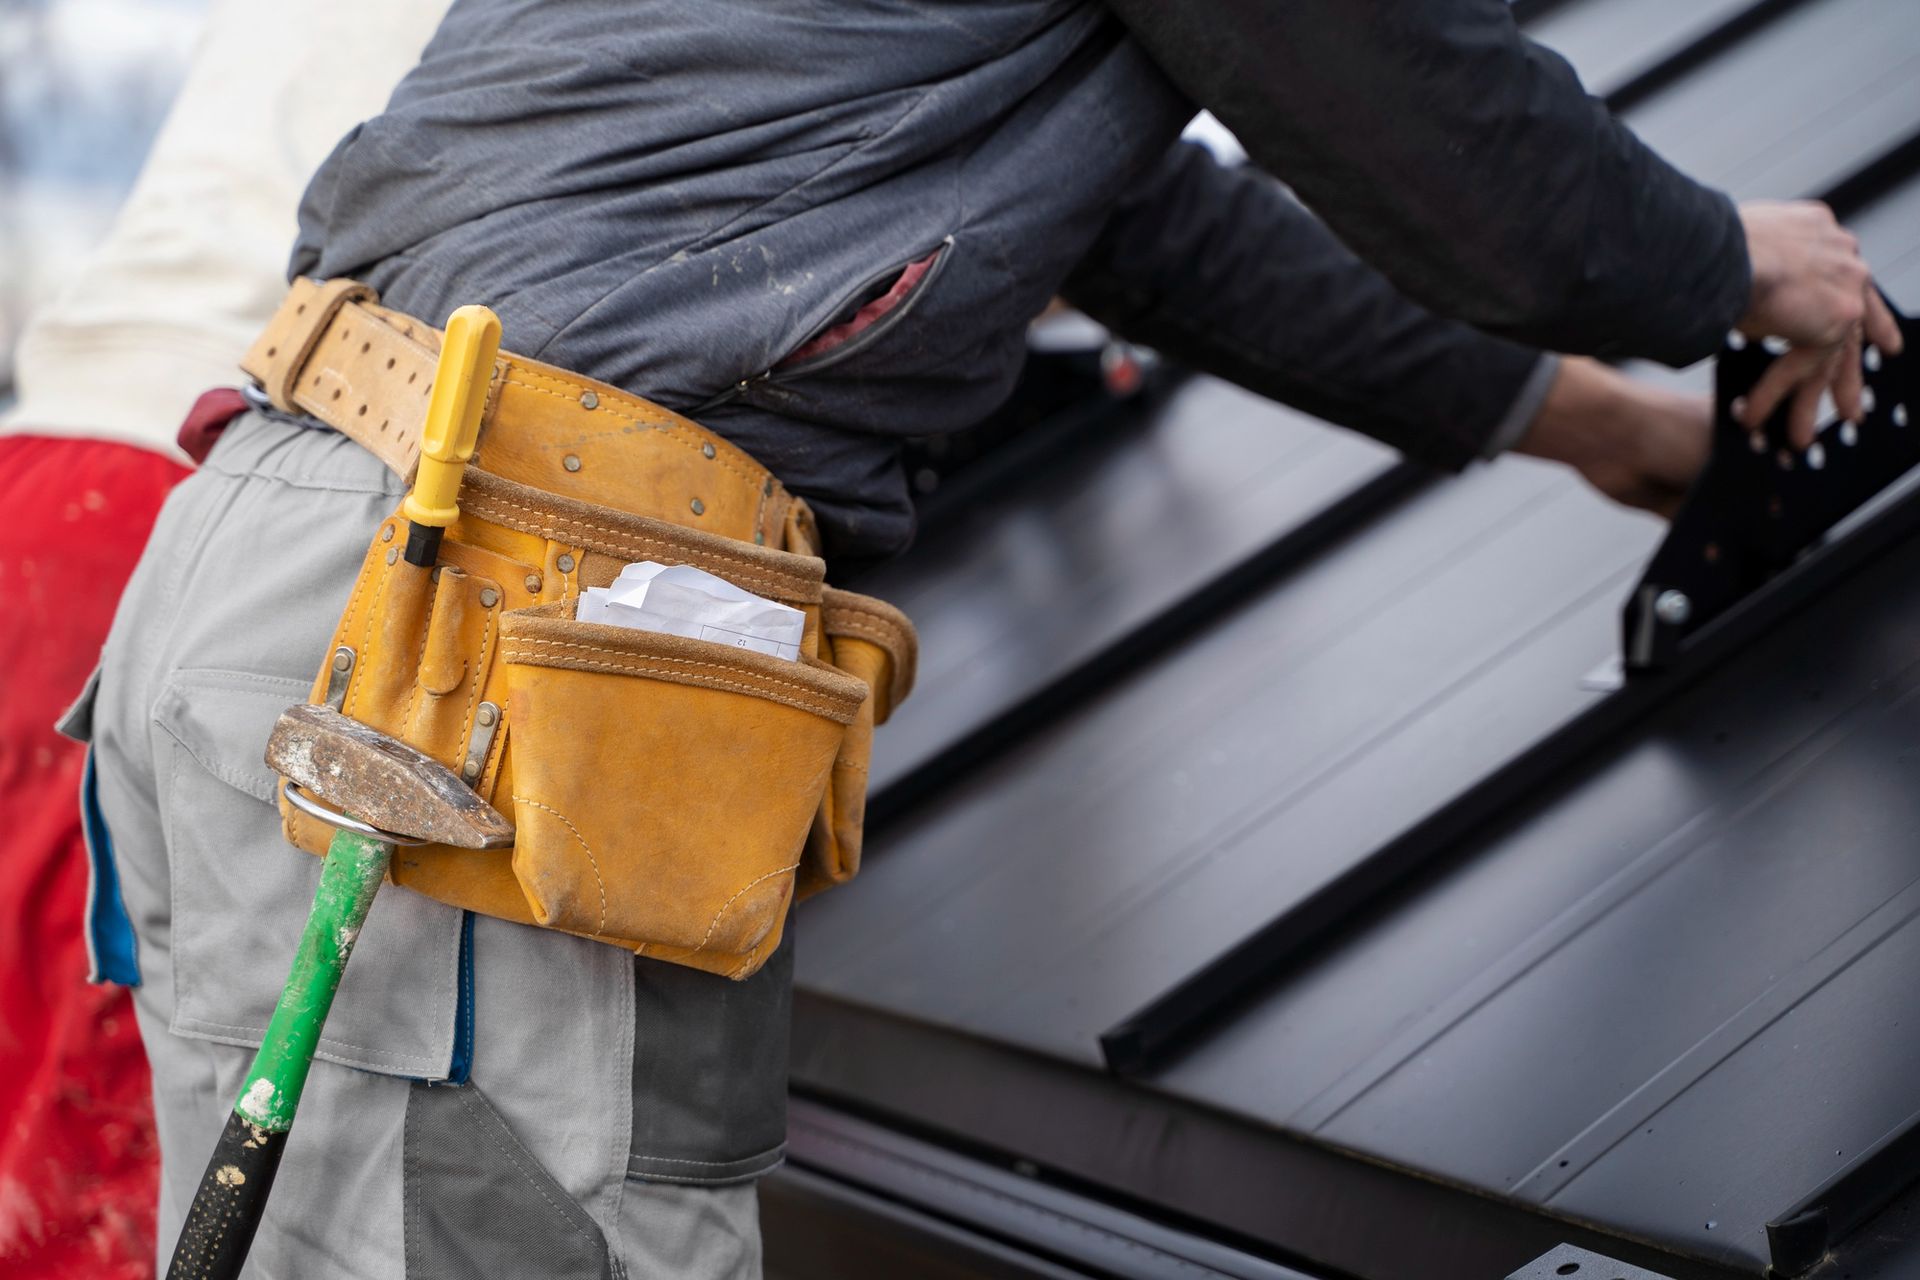
- Gathering Necessary Tools and Materials: Once you've assessed the roof condition, gather all the tools and materials required for the installation process. This includes rubber roofing sheets or tiles, adhesive or sealant, underlayment, insulation materials, and any specialized tools recommended for the job. Having everything on hand before starting the installation will streamline the process and minimize delays.
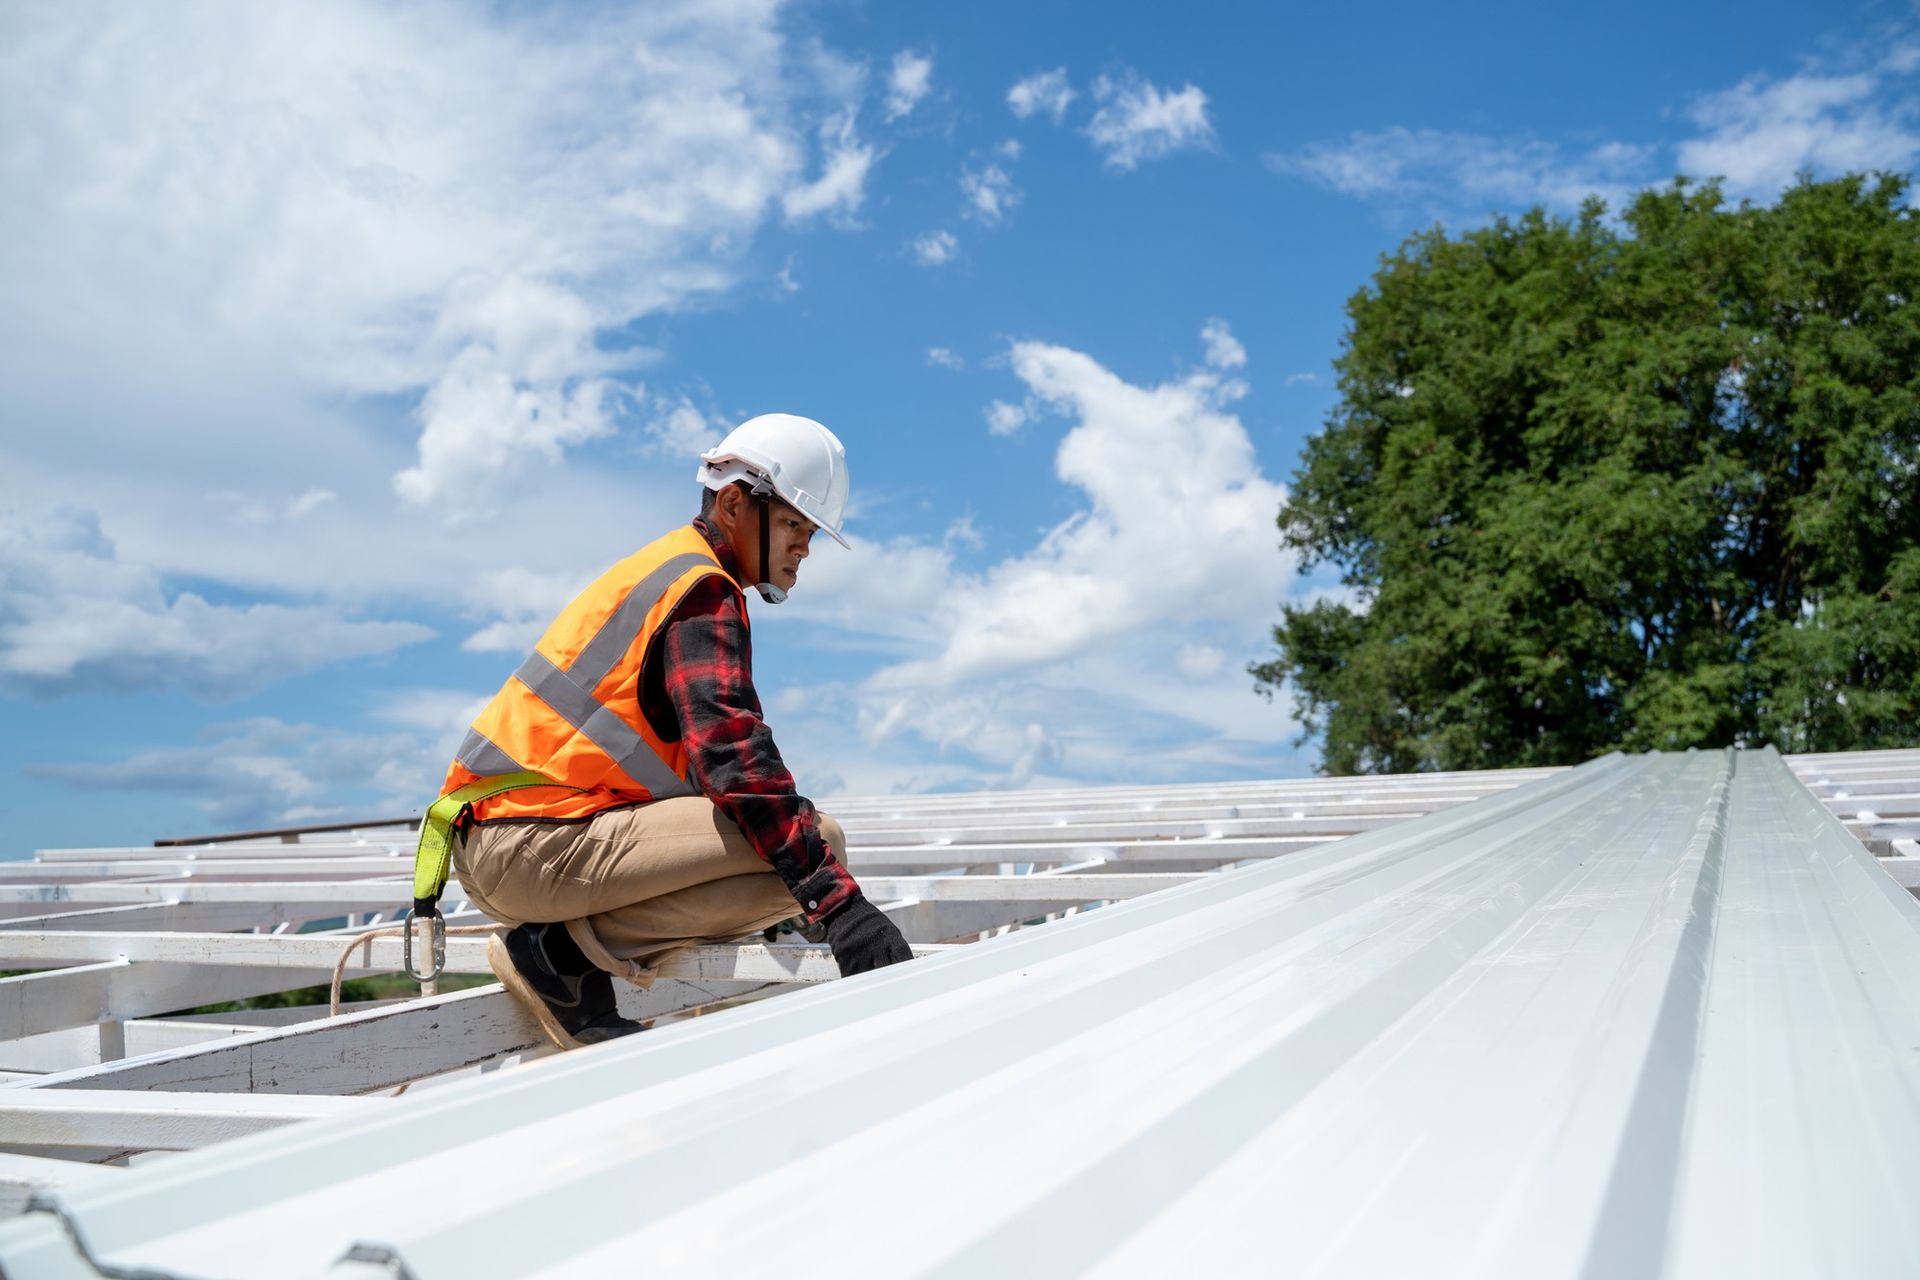
- Safety Precautions for Installation: Safety should always be a top priority during any roofing project. Before beginning the installation, ensure that you have the necessary safety equipment, such as harnesses, ladders, and protective gear, to prevent accidents and injuries. Additionally, familiarize yourself with safety guidelines and procedures specific to rubber roofing installation to minimize risks and ensure a safe working environment.
Understanding Installation Techniques
Installing rubber roofing requires a combination of skill, precision, and attention to detail. Understanding the various techniques involved will ensure a professional-looking finish and long-lasting results.
- Surface Preparation: Proper surface preparation is crucial for the success of the installation. Start by thoroughly cleaning the roof surface to remove any dirt, debris, or contaminants that could compromise adhesion. Use a pressure washer or suitable cleaning solution to ensure a clean and smooth surface.
- Priming the Surface: Once the roof surface is clean, apply a primer to enhance adhesion and ensure proper bonding between the rubber membrane and the substrate. The primer acts as a preparatory layer, promoting adhesion and improving the longevity of the roofing system.
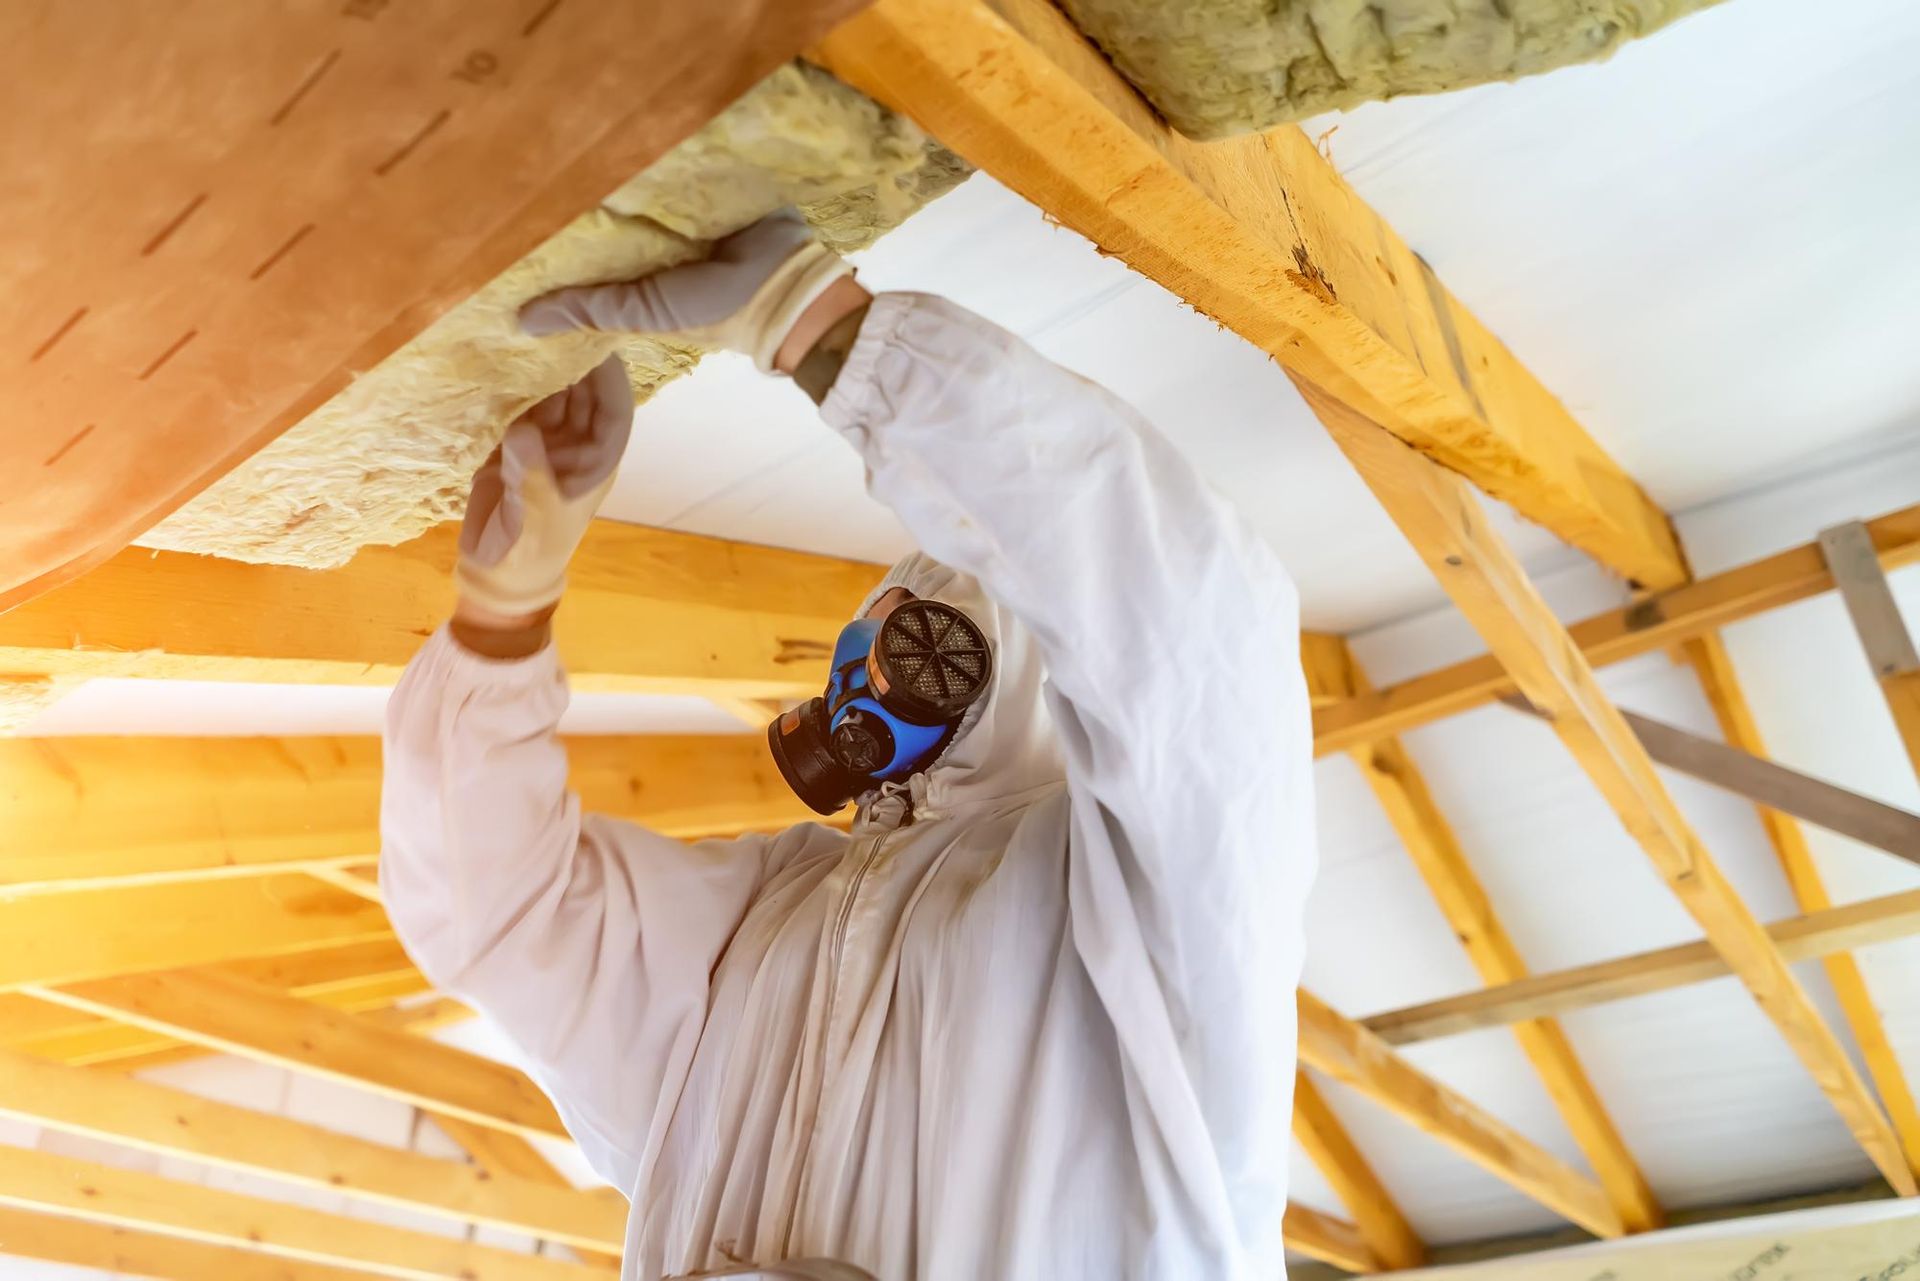
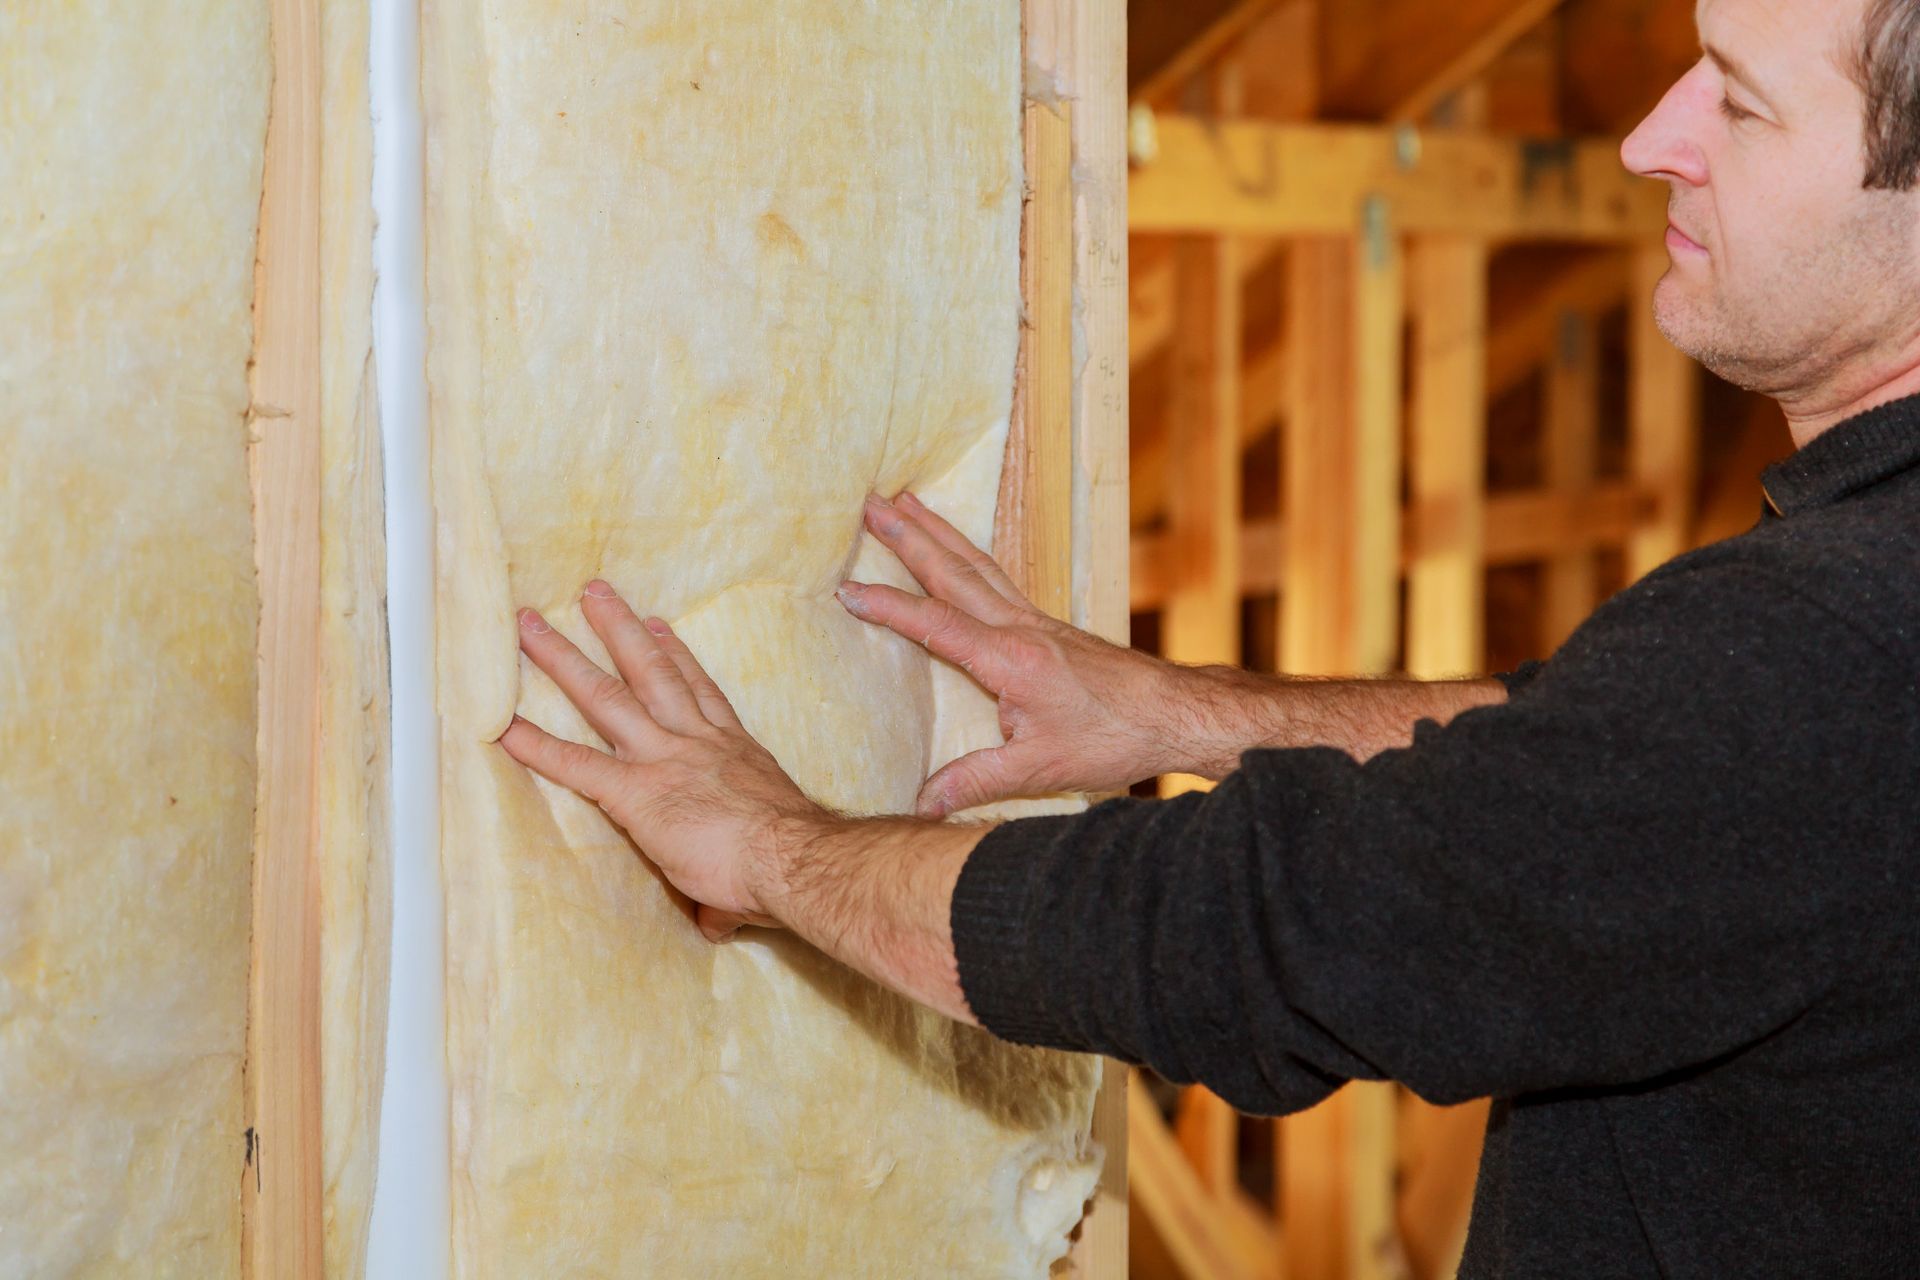
- Installing Underlayment and Insulation: Before laying down the rubber roofing membrane, install a suitable underlayment and insulation layer to provide added protection and insulation. The underlayment helps create a barrier against moisture and prevents water infiltration, while insulation improves energy efficiency and thermal performance.
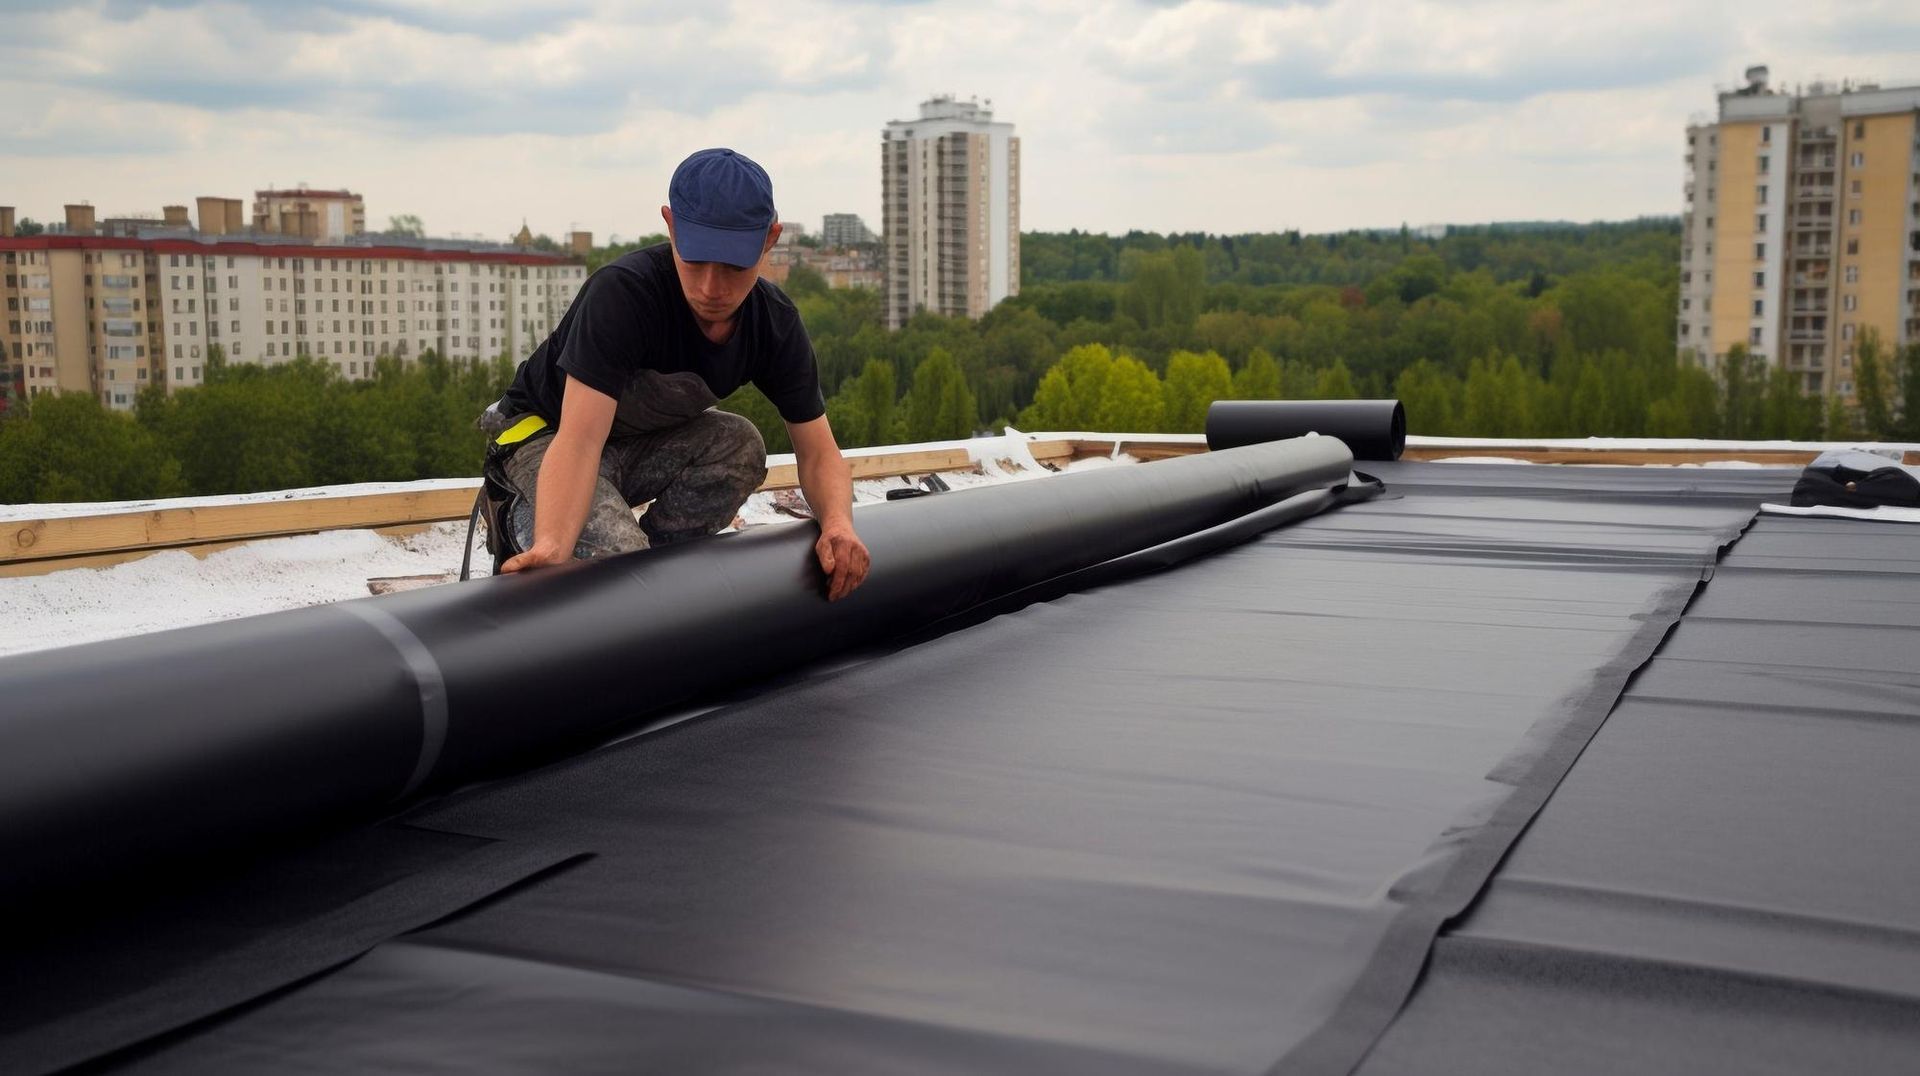
- Techniques for Laying Rubber Roofing: Depending on the type of rubber roofing system you're using, there are different installation techniques to consider. For loose-laid systems, the rubber membrane is laid loosely over the roof surface and secured in place with ballast or adhesive. Fully adhered systems involve applying adhesive to both the substrate and the underside of the rubber membrane for a secure and watertight seal.
- Sealing Seams and Edges: Properly sealing seams and edges is critical to prevent water penetration and ensure a waterproof seal. Use high-quality sealants and adhesives specifically designed for rubber roofing applications to seal joints, overlaps, and penetrations effectively. Pay close attention to detail and ensure that all seams are properly sealed to prevent potential leaks and water damage.
Understanding these installation techniques and following best practices will help ensure a successful rubber roofing installation that withstands the test of time. By investing time and effort into proper preparation and execution, you can enjoy the benefits of a durable, weather-resistant roof for years to come.
Dealing with Challenges and Obstacles
Every roofing project comes with its set of challenges. When working with rubber roofing, you may encounter irregular roof shapes and sizes that require careful consideration. Mitigating potential leaks and addressing drainage issues should be tackled head-on during the installation process. Understanding common problems and troubleshooting effectively will contribute to a seamless project.
Post-Installation Maintenance and Care
Congratulations, your rubber roofing is in place! But the journey doesn't end there. Regular maintenance is key to ensuring the longevity of your investment. Establishing inspection schedules, cleaning, and debris removal are simple yet effective ways to keep your rubber roof in top-notch condition. Learn how to identify and repair minor damages promptly to avoid more significant issues down the road.
Hiring Professionals vs. DIY Installation
When it comes to installing rubber roofing, homeowners are often faced with the decision of whether to hire professionals or tackle the project themselves. Both options have their advantages and considerations, which should be carefully weighed before making a decision.
Pros of Hiring Professionals:
- Expertise and Experience: Professional roofing contractors have the knowledge, skills, and experience to execute rubber roofing installations efficiently and effectively. They understand the intricacies of the installation process and can navigate challenges with ease.
- Quality Assurance: Hiring professionals ensures that the installation is done according to industry standards and manufacturer specifications. Professionals have access to specialized tools, materials, and techniques that may not be readily available to DIY enthusiasts, resulting in a higher quality finished product.
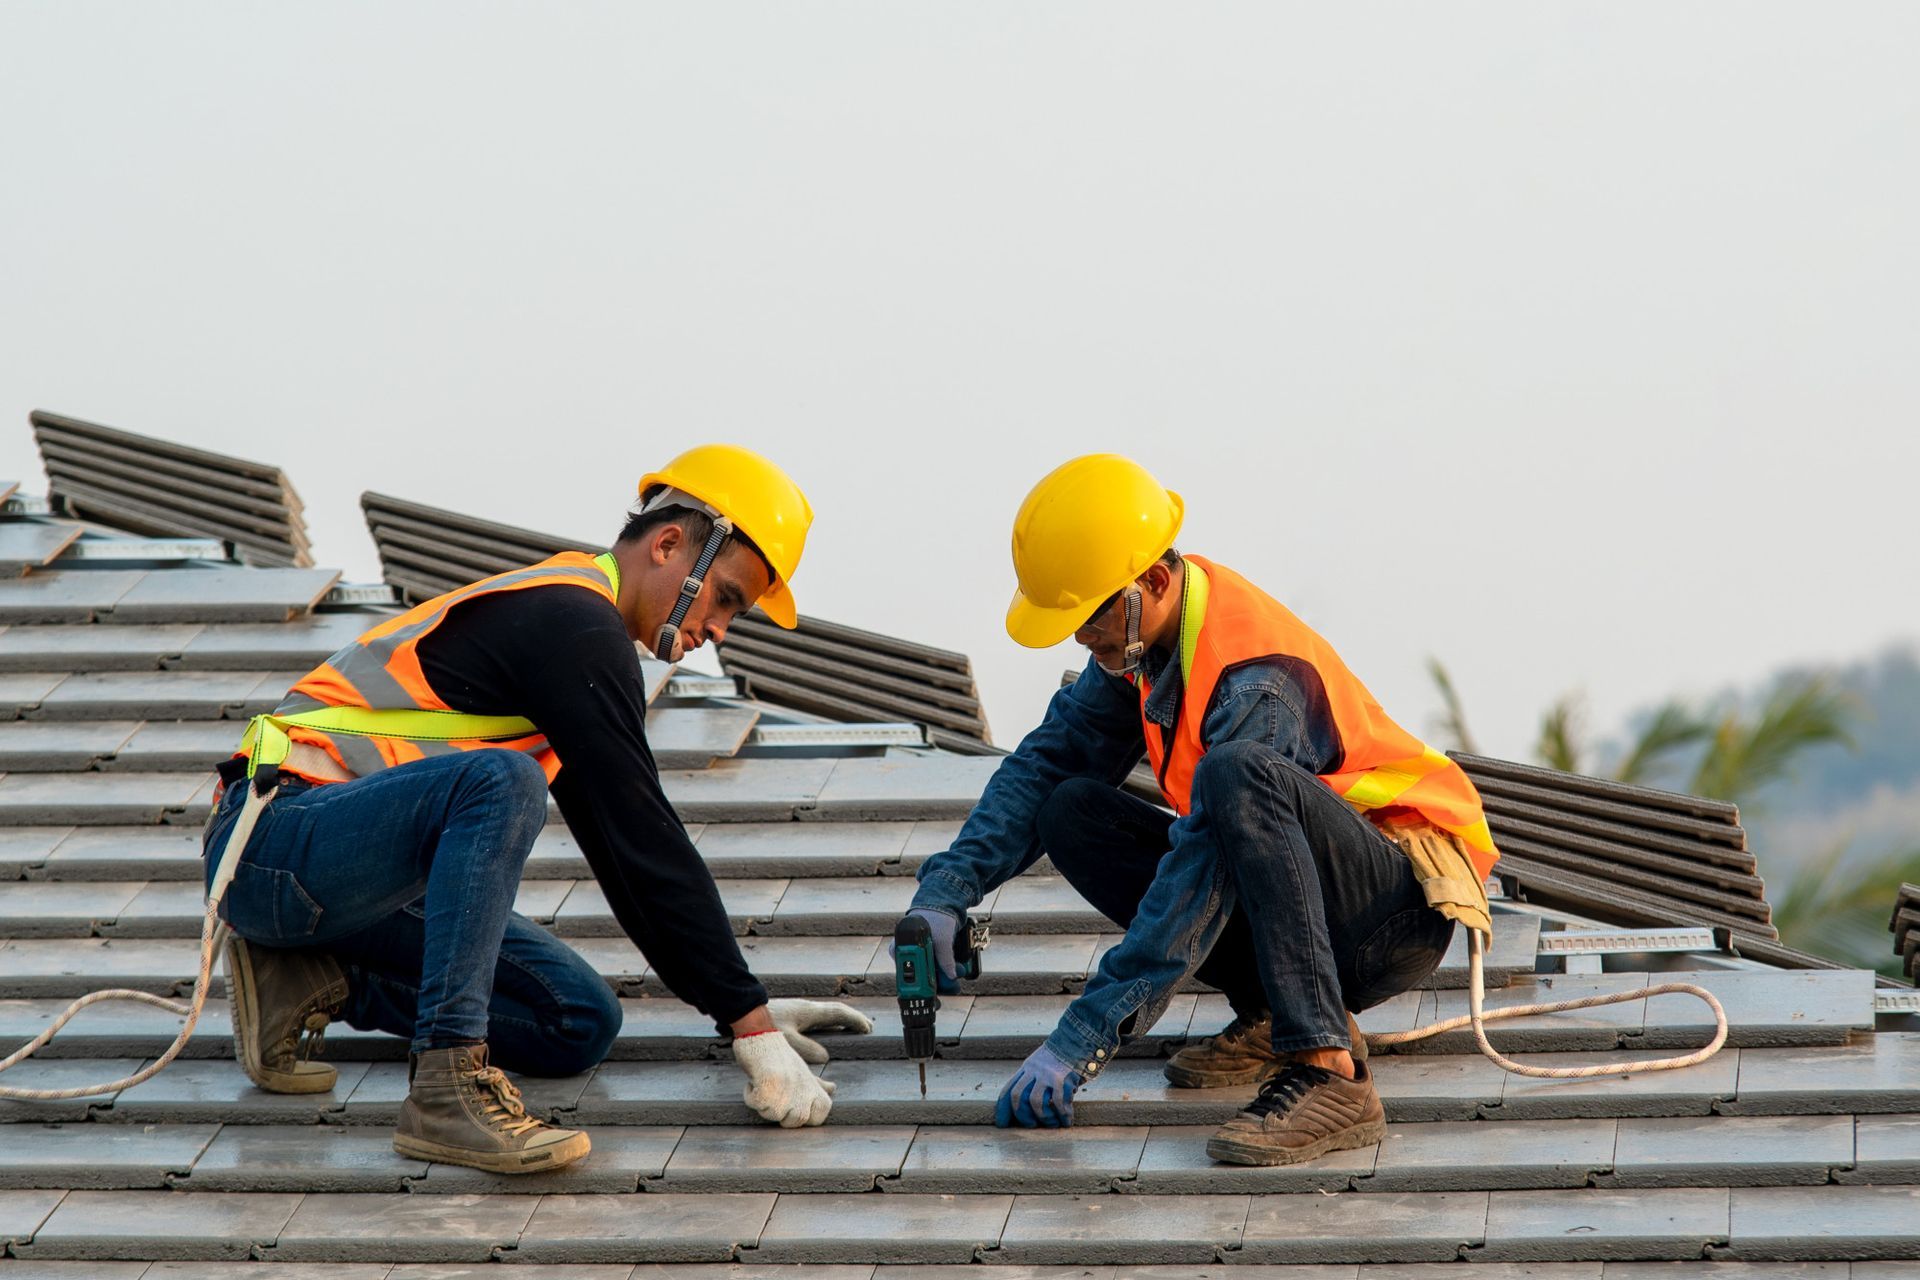
- Time and Convenience: Professional roofing crews work quickly and efficiently, minimizing disruption to your daily routine. They have the manpower and resources to complete the installation in a timely manner, allowing you to enjoy the benefits of your new roof sooner.
- Warranty and Guarantees: Many professional roofing companies offer warranties and guarantees on their workmanship, providing added peace of mind and protection for homeowners. In the event of any issues or defects, reputable contractors will stand behind their work and address any concerns promptly.
Cons of Hiring Professionals:
- Cost: Hiring professionals for rubber roofing installation can be more expensive upfront compared to DIY installation. However, it's essential to consider the long-term benefits and potential cost savings of a professionally installed roof.
- Dependency on Contractors: Relying on professional contractors means relinquishing some control over the installation process. Homeowners must research and vet potential contractors carefully to ensure they hire a reputable and trustworthy company.
Pros of DIY Installation:
- Cost Savings: DIY installation can significantly reduce labor costs associated with hiring professionals. With careful planning and execution, homeowners can save money on installation expenses and invest those savings elsewhere.
- Sense of Accomplishment: Completing a DIY rubber roofing project can be a rewarding experience for homeowners who enjoy hands-on work and take pride in their craftsmanship. It allows homeowners to take control of the installation process and see the project through from start to finish.
Cons of DIY Installation:
- Skill and Experience Requirements: Installing rubber roofing requires a certain level of skill, knowledge, and experience. DIY enthusiasts must be comfortable working at heights, handling tools and equipment, and following complex installation procedures. Lack of experience or expertise can lead to mistakes, which may compromise the integrity and performance of the roof.
- Safety Risks: Roofing work can be hazardous, particularly for DIY installers who may not have proper training or safety equipment. Working on a roof poses risks of falls, injuries, and accidents, which can result in serious consequences if safety precautions are not followed diligently.
- Potential for Errors and Defects: Improper installation techniques or mistakes during DIY projects can result in errors and defects that may not be immediately apparent. Over time, these issues can lead to leaks, damage, and premature deterioration of the roof, necessitating costly repairs or replacements.
The decision to hire professionals or pursue a DIY rubber roofing installation depends on various factors, including budget, skill level, time constraints, and personal preferences. While DIY installation offers cost savings and a sense of accomplishment, hiring professionals ensures quality workmanship, warranty protection, and peace of mind. Homeowners should carefully evaluate their options and choose the approach that best suits their needs and circumstances.
Conclusion
In conclusion, rubber roofing installation is a multifaceted process that demands attention to detail and careful planning. By understanding the basics, navigating through challenges, and embracing post-installation maintenance, you're well on your way to a robust and resilient roof that will stand the test of time. Whether you're a seasoned DIY enthusiast or opting for professional assistance, the knowledge gained from this guide will undoubtedly contribute to the success of your rubber roofing project. So, go ahead, elevate your property with the durability and innovation that rubber roofing brings!
When it comes to professional assistance,
Weather Seal Insulation and Roofing, LLC stands out as the best service provider in Janesville, WI. With their expertise, dedication to quality, and commitment to customer satisfaction, they ensure that every rubber roofing project is executed with precision and excellence. Give them a call at
(608) 330-3626 to discuss your roofing needs and experience firsthand the difference that their services can make. Let us help you achieve the ideal roof for your property, providing lasting protection and peace of mind for years to come.
FAQ’s
Address sudden leaks and damage with this essential roof repair checklist. Act quickly to protect your home with reliable solutions and expert advice.
Get quick, dependable roof repair services in emergencies. Expert teams ready to fix leaks and damage, ensuring your safety and peace of mind.
Explore how climate influences new construction roofing, from materials and design to durability and energy efficiency, shaping sustainable building practices.
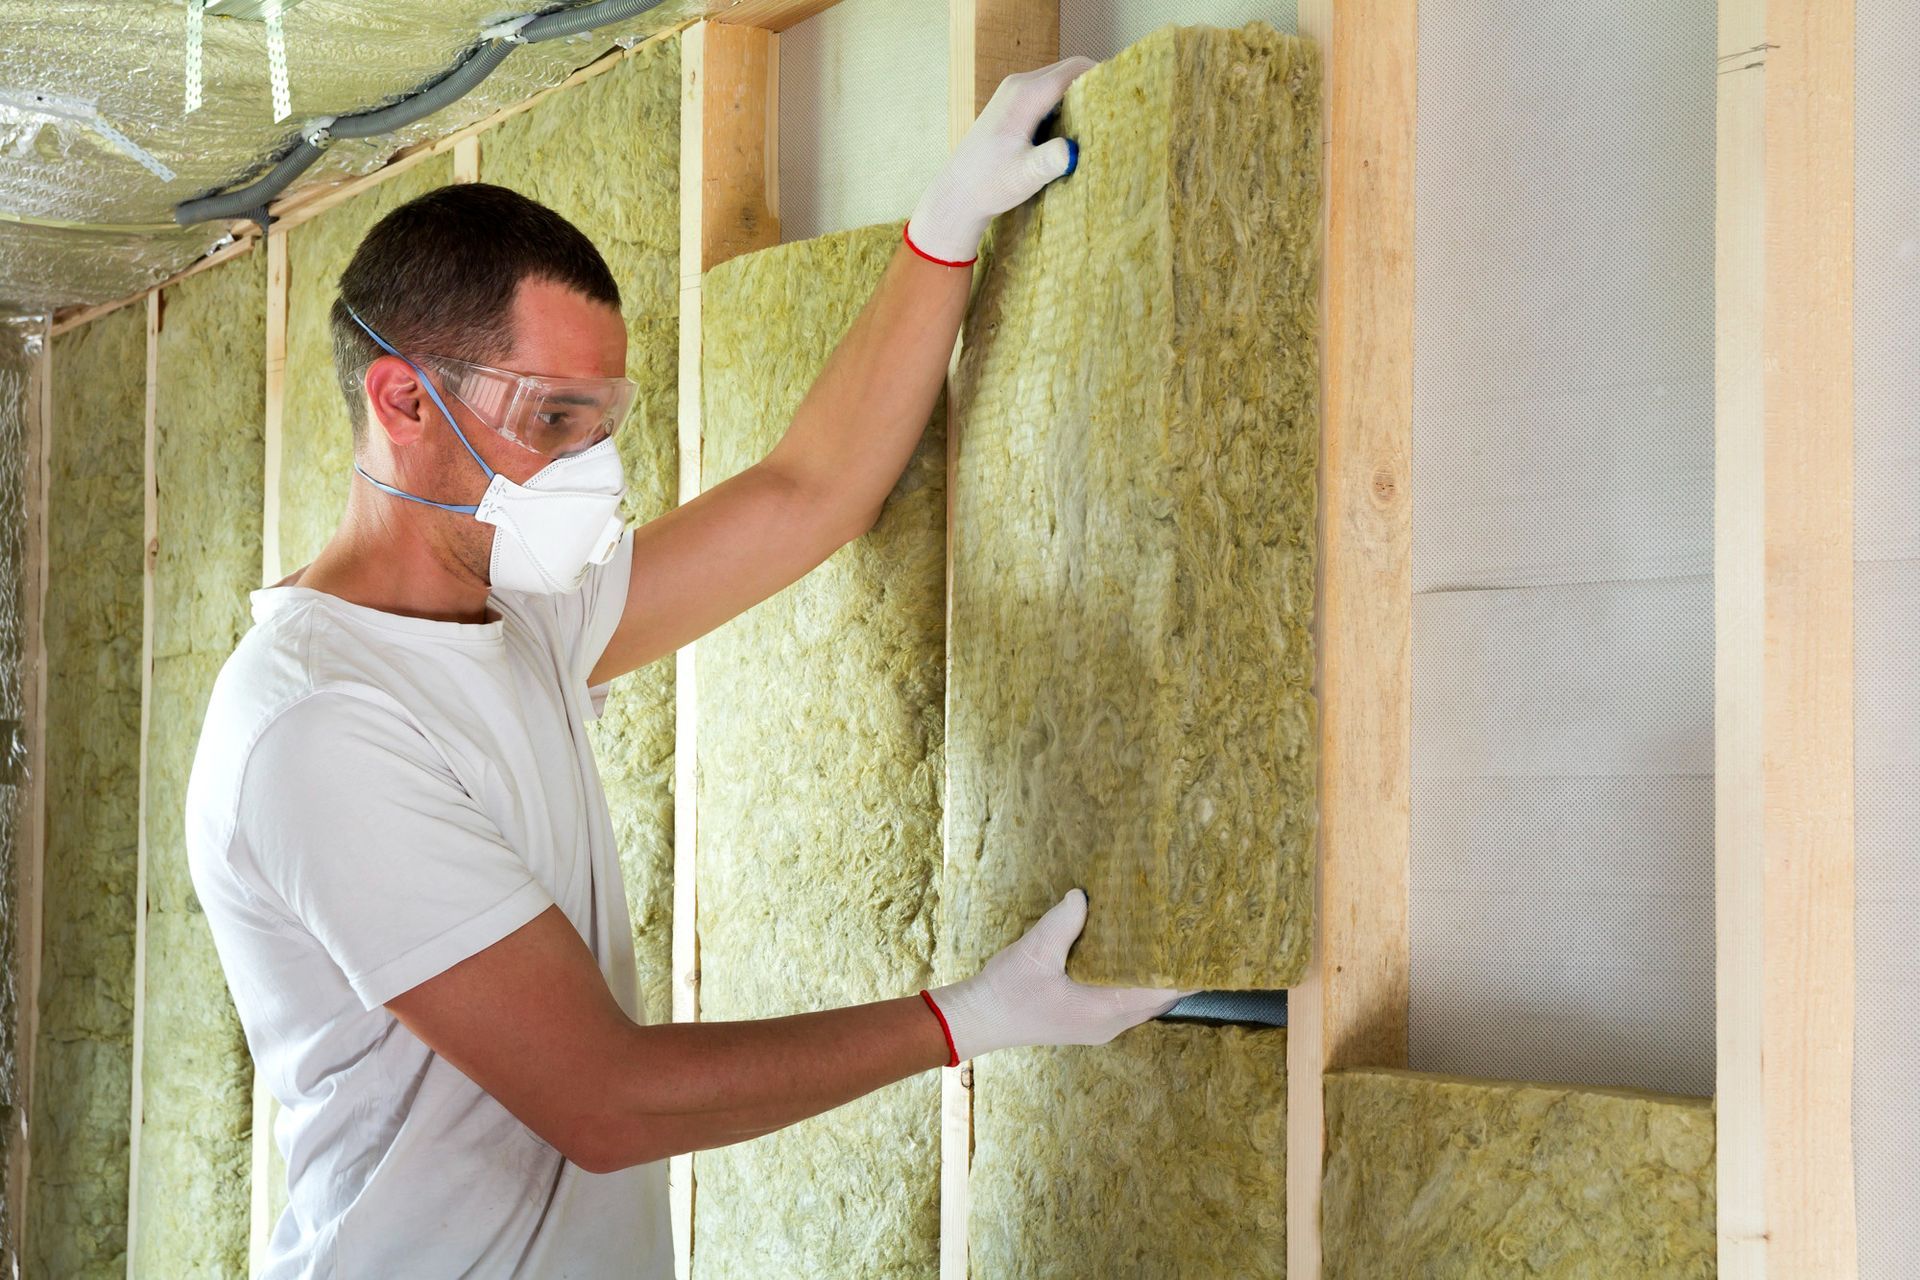
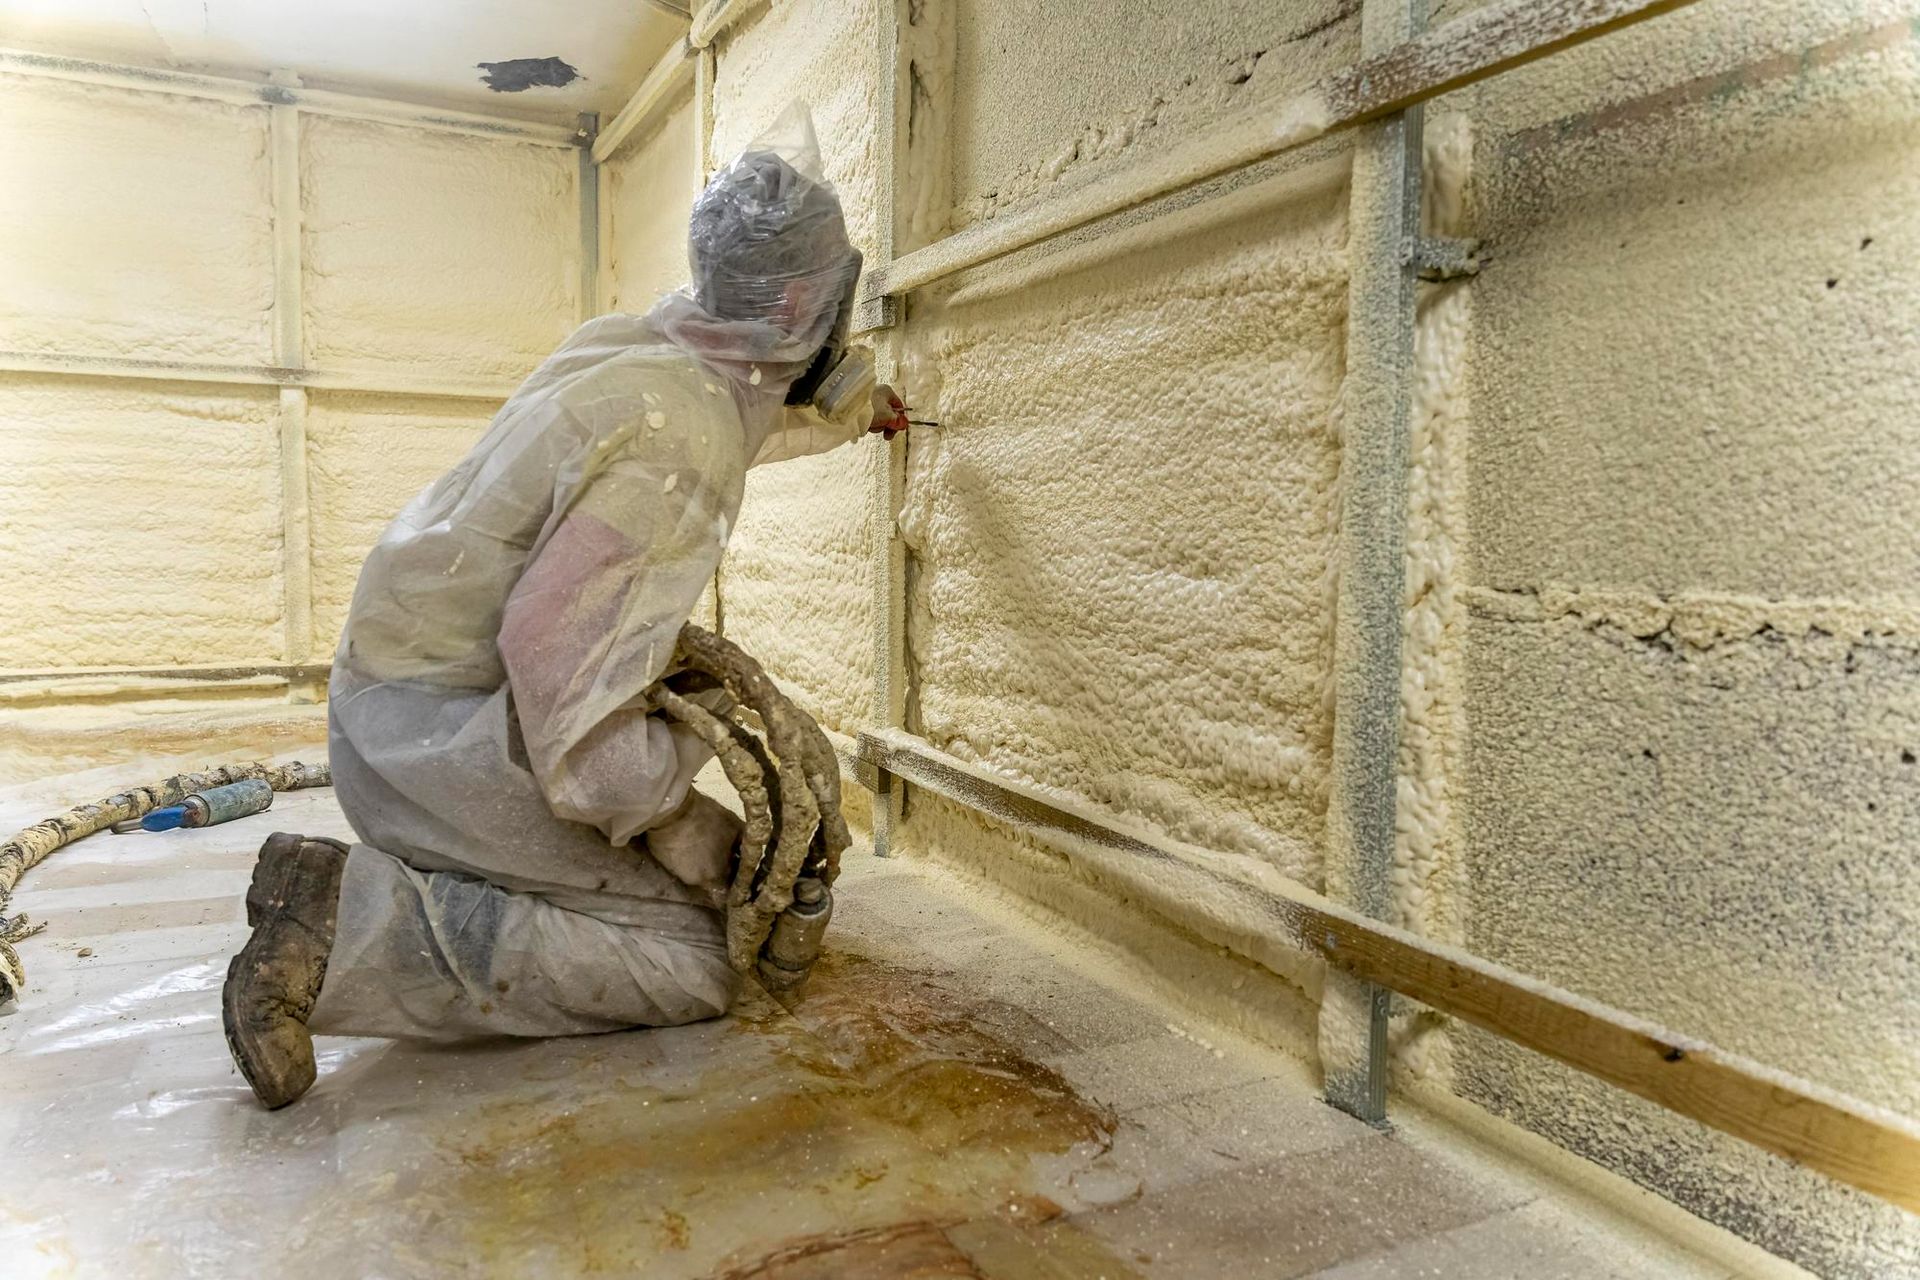
Explore the top benefits of foam insulation for homes. Learn how this innovative solution enhances energy efficiency, comfort, and savings.
Dive into Rubber Roofing 101: Master the essentials of installation. Ensure durability, weather resistance, and long-term protection for your property.
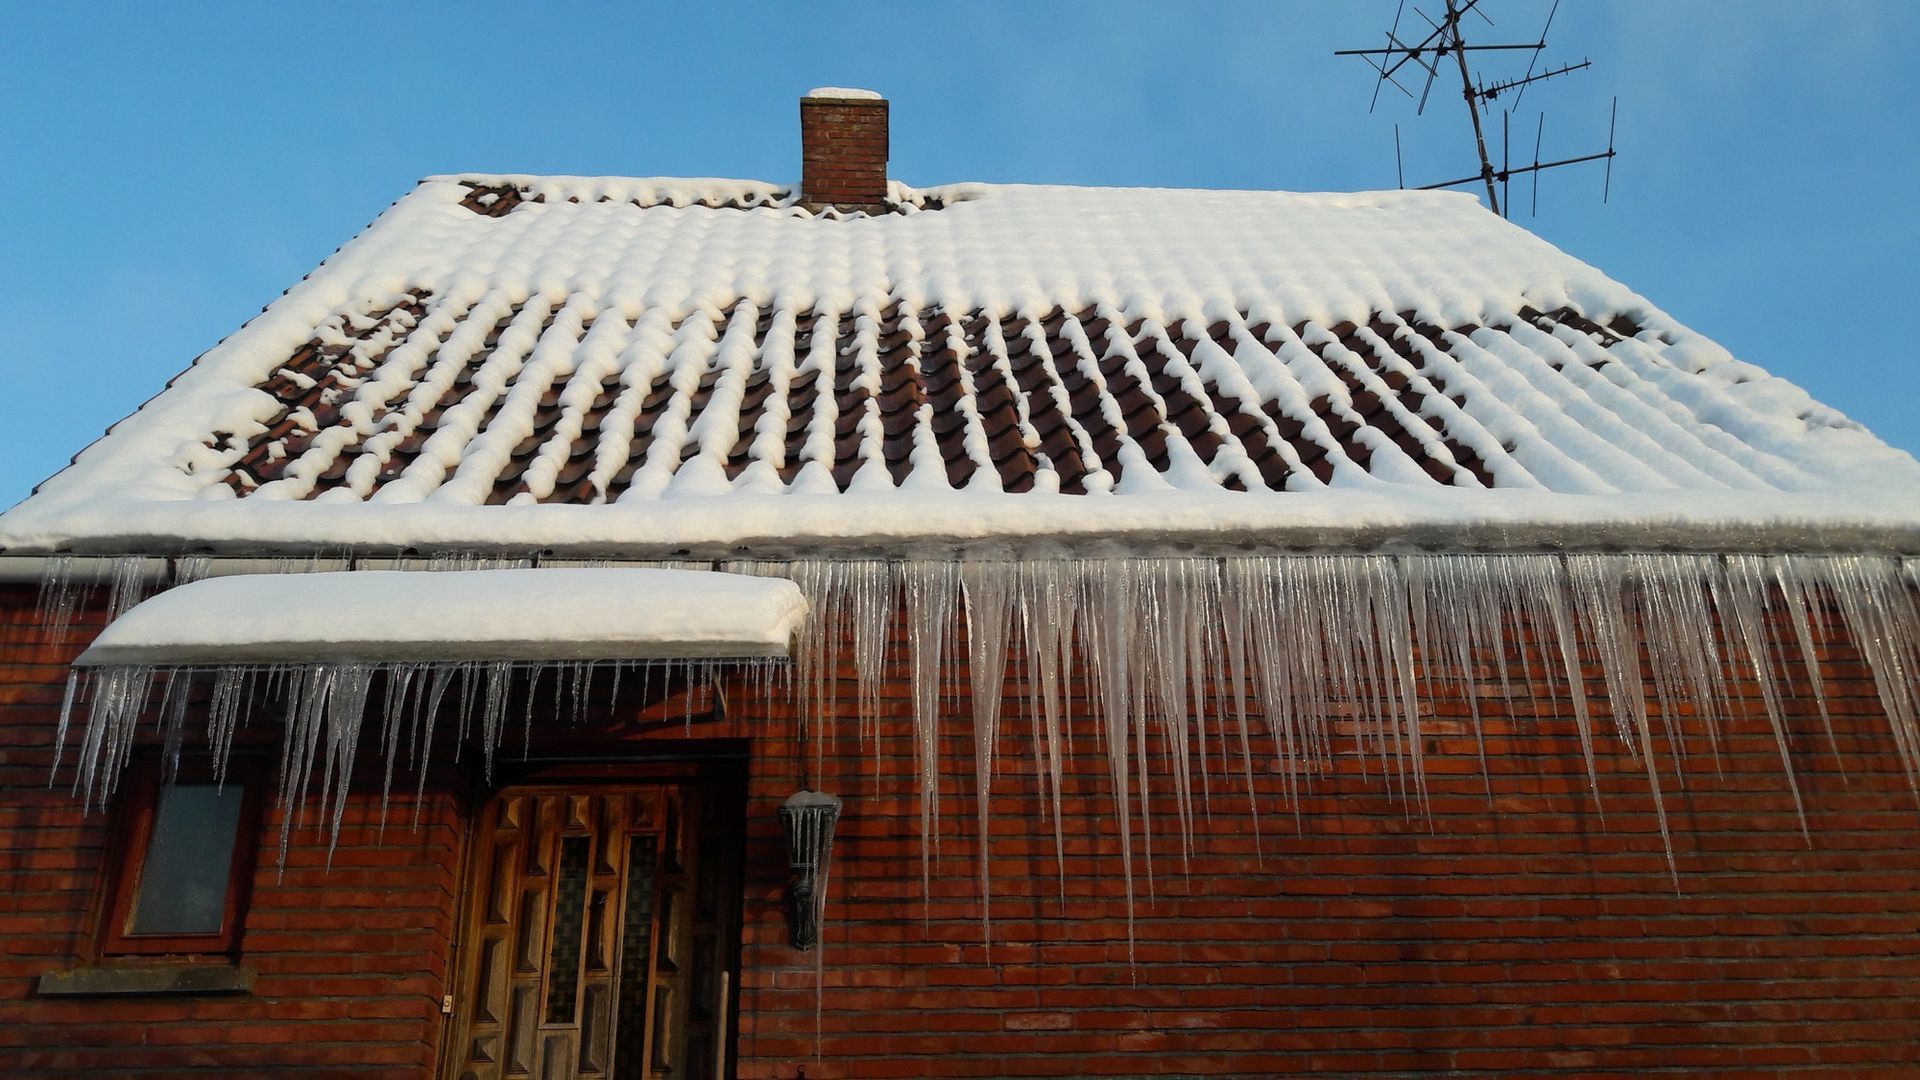
Stay warm and cozy all winter! Learn how to winter-proof your house with effective home insulation solutions. Discover more now!
Discover the significance of professional roof installation for long-lasting durability. Invest in quality and protect your home.
Ensure efficient home insulation by avoiding these top 5 attic insulation installation mistakes. Keep your home comfortable and energy-efficient.
Find the best roof leak repair options near you with our 2024 homeowner's guide. Ensure quick, effective solutions for a secure home.
Discover the ideal Christmas home upgrade with Blown-In Insulation Near Me. Stay cozy and energy-efficient this holiday season. Find it now!
Get in Touch Today
Professional, dependable, affordable—why wait? If you need quality work from a qualified roofer, we are the company to call. We’ve helped countless clients keep their property protected while saving time and money. We know we can do the same for you too.


Hours of Operation
- Mon - Thu
- -
- Friday
- -
- Sat - Sun
- Appointment Only
Emergency Service